Hello Guys,
In this post I am going to explain you how to develop and
publish a SharePoint Provider Hosted app in Online. Here I am using Azure Hosting
(low trust or ACS) model to publish the app.
In this post, I am mainly focusing the hands-on steps with
very high level information. This is a very big post with 4 parts..
These are the steps involved in building and hosting a
provider hosted app in azure.
·
Creating website in windows azure
·
Downloading the azure profile
·
Developing SharePoint provider hosted app in
visual studio
·
Generating Client Id and Client Secret in
Sharepoint online Site
·
Publishing the appwebsite in to azure
·
Publishing/Uploading the app in SharePoint online appcatalog
·
Install and Run the App.
Creating website in azure:
Login to azure portal with the Microsoft account and create
the azure website from the azure
management portal. Like below
Go to azure management portal, Click on Websites in the left
pane

Click on “New” link in the bottom left. Then select Computeà Web AppàQuick Create
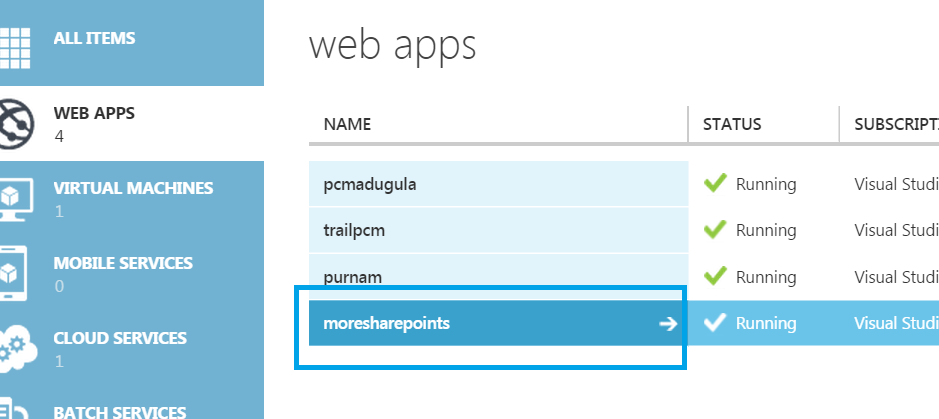
Give the url which you want to refer your azure website.
Here I am giving it as “moresharepoints.azurewebsites.net”
Select the service plan (make default if you don’t have any
subscription)

Then Click Create Web App link in the down. It will create a
webapp with the provided url.

Click on the URL (moresharepoints.azurewebsites.net), it
should show like this.

Now we are ready with the azure website. In next steps in
this post, we will publish our sharepoint app web on to this website.
To publish the appwebsite on to this azure website, we have
to use the profile of this website while publishing. So download the profile
and save it to your desktop. We will use it in our next steps. How to
download..? See below
Download the azure profile:
Go to azure management portal and click on the Website Name.
And download the publish profile. Save it to your desktop or
some folder in your system.

The profile would have extension “.publishsettings”(in my
case this is the profile : “moresharepoints.azurewebsites.net.PublishSettings”.)
With this the azure website and its profile creation is
done.
Now let’s go and create the SharePoint Provider Hosted app. Follow next post for the continuation...
Refer Part2 for the continuation..
Refer Part2 for the continuation..
Thanks for providing your information, i learn new thing about you. Get touch with Azure Online Training
ReplyDeletecloudkeeda
ReplyDeletewhat is azure
azure free account
azure data factory
azure data factory interview question
azure certification path
azure traffic manager
azure bastion